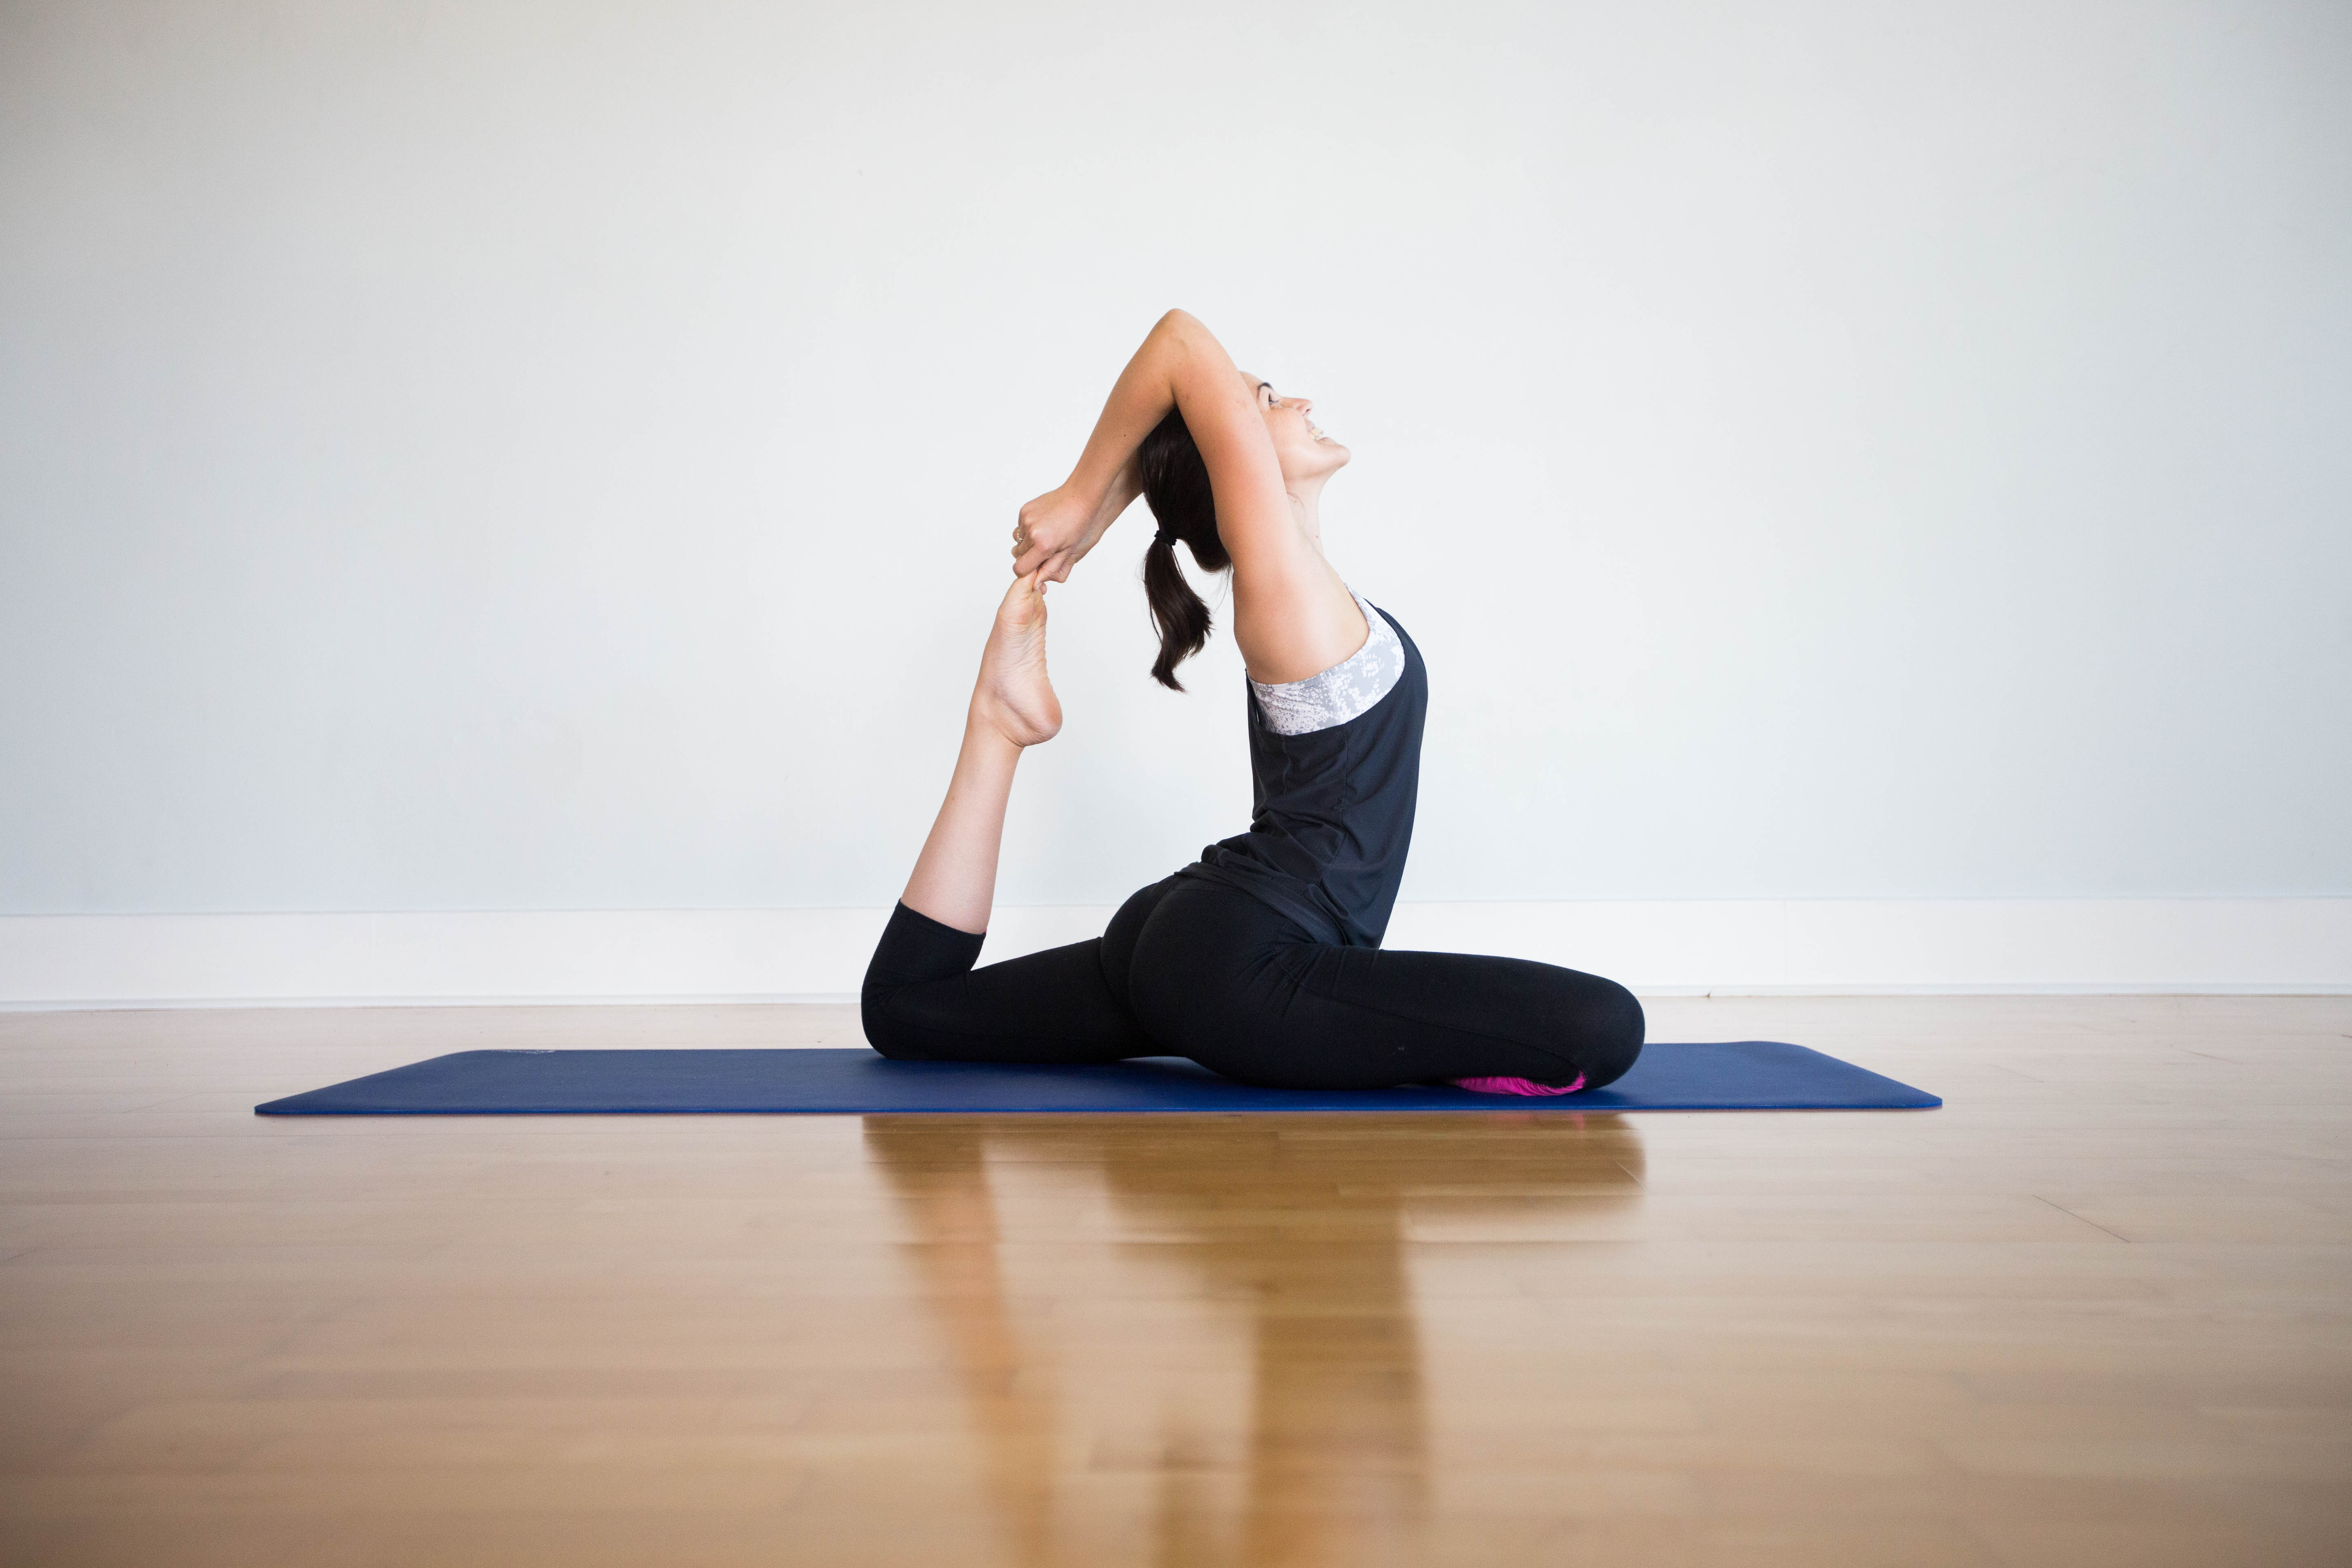
The Sun Salutation, additionally known in Sanskrit as Surya Namaskra, presents you a wonderful opportunity to warm -up and gently stretch your again and enhance flexibility of your spine. Most yoga classes will begin with the Sun Salutation. The Sun Salutation, forms part of the heat-up in most yoga courses.
It consists of 12 flowing positions that allow the body to stretch forwards and backwards. Different schools of yoga will have their very own particular variation of the Sun Salutation. The following 12 steps give you a easy guide to the Sun Salutation historically practiced in a Sivananda Hatha Yoga Class.
I nearly correct absent had overlooked, to to share that write-up with you I set in this internet website http://de.pons.com/übersetzung?q=yoga&l=deen&in=&lf=en, there you can find the most useful info on this report.
For the primary few instances you practice the Sun Salutation, it is less complicated to simply concentrate on the postures. As http://www.yogancure.net/?s=yoga get used to the routine, attempt to co-ordinate the motion with the breath. Starting Position: Stand erect with the top and physique straight however relaxed. https://virtuamagazine.site/best-way-to-make-use-of-yoga-blocks-to-enhance-flexibility/ are together, the knees are straight, and the arms are relaxed at the sides. Position 1: Exhale and bring the palms together in the prayer position in entrance of the center centre.
Position 2: Inhale. Stretch the arms out from the center centre and stretch your arms up over your head. Arch your physique backwards, keep your arms up alongside the ears. Try to keep your knees straight. Keep looking up at your fingers; give yourself a full body stretch as you stretch up all the way in which from the feet to the ideas of your fingers.
Position 3: Exhale. Bend forwards and convey the palms all the way down to the flooring subsequent to the feet. If your arms don't touch the floor with the knees straight, then slightly bend the knees. Allow the top to chill out towards the flooring. Position 4: Inhale and without shifting the palms, stretch the proper leg again as far as attainable.
Drop the best knee to the ground. Leave the left knee on the ground between the palms and the left knee close to the chest. Stretch the pinnacle up and again (you could feel a slight stretch in the throat and right groin). http://de.pons.com/übersetzung?q=yoga&l=deen&in=&lf=en : Retain your breath. Bring your left leg again and place the left foot subsequent to the correct, with the toes pointing forwards. Your physique needs to be in a straight line - much like the push-up or plank position.
https://squareblogs.net/bearddrain76/the-style-of-yoga-for-beginners : Exhaling, drop the knees straight down to the ground. Keep site with details of this on up. Bring the chest straight all the way down to the ground between the palms. Bring the forehead to the flooring. Again, if that is to sturdy, just decrease your physique flat to the ground. Position 7: Inhale as you slide the body forwards until the hips are on the bottom. Legs straight out behind you.
Have the palms on the floor beneath the shoulders, elbows close to the body and pointing upwards. Gently stretch upward with the top, neck and chest. Keep https://blogfreely.net/clerksort47/beginner-yoga-you-possibly-can-learn-and-practice-also-tips-to-avoid-injury bent and tucked in towards the physique. The shoulders are down and relaxed, so there is no such thing as a tension within the neck or shoulder space.
You now repeat the poses going again in the alternative direction. Position 8: Exhale as you tuck the toes beneath. Keep the fingers and toes in the identical place, deliver the hips up and type an inverted V/downward canine pose. Push the heels towards the ground and keep the knees straight.